Install Plone
Description
A simple tutorial introducing the basics of Plone development.
Now that we have a virtual_env, we can move on the to third step of our process; installing Plone. First, we need to install ZopeSkel.
Note
Using paster is deprecated instead you should use bobtemplates.plone
Deprecated since version may_2015: Use bobtemplates.plone instead
Install ZopeSkel
ZopeSkel simplifies the process of setting up Plone development.
The Plone community is transitioning between ZopeSkel 2.21.2 and a major rewrite currently at 3.0b3. Currently, the Plone installers use version 2.21.2. (August 2012) For more information about ZopeSkel see the Bootstrapping Plone add-on development section of this manual.
We will install ZopeSkel 2.21.2 in our virtual_env and and use it to install Plone.
-
Install ZopeSkel 2.21.2.:
# change your working directory to the virtual_env
cd env-27
./bin/easy_install -U ZopeSkel==2.21.2
This adds some files to the bin directory, including zopeskel.:
[michaelc@Cullerton env-27]$ ll bin/
total 8176
-rw-r--r--  1 michaelc  staff     2227 Aug 25 20:39 activate
-rw-r--r--  1 michaelc  staff     1114 Aug 25 20:39 activate.csh
-rw-r--r--  1 michaelc  staff     2422 Aug 25 20:39 activate.fish
-rw-r--r--  1 michaelc  staff     1129 Aug 25 20:39 activate_this.py
-rwxr-xr-x  1 michaelc  staff      220 Aug 25 21:02 cheetah
-rwxr-xr-x  1 michaelc  staff      236 Aug 25 21:02 cheetah-compile
-rwxr-xr-x  1 michaelc  staff      368 Aug 25 20:39 easy_install
-rwxr-xr-x  1 michaelc  staff      376 Aug 25 20:39 easy_install-2.7
-rwxr-xr-x  1 michaelc  staff      356 Aug 25 21:02 paster
-rwxr-xr-x  1 michaelc  staff      320 Aug 25 20:39 pip
-rwxr-xr-x  1 michaelc  staff      328 Aug 25 20:39 pip-2.7
-rwxr-xr-x  1 michaelc  staff  2065616 Aug 25 20:39 python
-rwxr-xr-x  1 michaelc  staff  2065616 Aug 25 20:39 python2.7
-rwxr-xr-x  1 michaelc  staff      354 Aug 25 21:02 zopeskel
Install Plone using ZopeSkel
ZopeSkel uses templates to build structure for Python, Zope and Plone projects. Here, we use the plone4_buildout template to create a Plone 4 buildout in the hello_world directory.
-
Create the Plone 4 buildout with zopeskel.:
./bin/zopeskel plone4_buildout hello_world
ZopeSkel displays some information and then asks what version of Plone we want to install. We want 4.2.:
Plone Version (Plone version # to install) ['4.1']: 4.2
The tutorial sometimes refers to the hello_world directory as the buildout directory. It contains the buildout.cfg file.:
[michaelc@Cullerton env-27]$ ll
total 0
drwxr-xr-x  16 michaelc  staff  544 Aug 25 21:02 bin
drwxr-xr-x   7 michaelc  staff  238 Aug 25 21:25 hello_world
drwxr-xr-x   3 michaelc  staff  102 Aug 25 20:39 include
drwxr-xr-x   3 michaelc  staff  102 Aug 25 20:39 lib

[michaelc@Cullerton env-27]$ ll hello_world/
total 32
-rw-r--r--  1 michaelc  staff  5773 Aug 25 21:25 README.txt
-rw-r--r--  1 michaelc  staff  3784 Aug 25 21:25 bootstrap.py
-rw-r--r--  1 michaelc  staff  2789 Aug 25 21:25 buildout.cfg
drwxr-xr-x  3 michaelc  staff   102 Aug 25 21:25 src
drwxr-xr-x  3 michaelc  staff   102 Aug 25 21:25 var
-
Bootstrap the system with the Python included in our virtual_env.:
# change your working directory to hello_world
cd hello_world
../bin/python bootstrap.py
The bootstrap process creates some directories and adds a buildout script to the bin directory.:
[michaelc@Cullerton hello_world]$ ll
total 32
-rw-r--r--  1 michaelc  staff  5773 Aug 25 21:25 README.txt
drwxr-xr-x  3 michaelc  staff   102 Aug 25 21:31 bin
-rw-r--r--  1 michaelc  staff  3784 Aug 25 21:25 bootstrap.py
-rw-r--r--  1 michaelc  staff  2789 Aug 25 21:25 buildout.cfg
drwxr-xr-x  2 michaelc  staff    68 Aug 25 21:31 develop-eggs
drwxr-xr-x  3 michaelc  staff   102 Aug 25 21:31 parts
drwxr-xr-x  3 michaelc  staff   102 Aug 25 21:25 src
drwxr-xr-x  3 michaelc  staff   102 Aug 25 21:25 var

[michaelc@Cullerton hello_world]$ ll bin
total 8
-rwxr-xr-x  1 michaelc  staff  331 Aug 25 21:31 buildout
-
Run buildout to install Plone. This can take a while.:
./bin/buildout
Buildout uses recipes that tell it what to install. These recipes can specify the versions of modules they need. Buildout picks a version when one is not specified. It keeps track of these picked versions and displays them when it is finished. You can add these to the [versions] section of buildout.cfg to pin them. This gives you a known good set you can work from, allowing you to rerun buildout in the future or on a different machine, and know you have the same environment.:
*************** PICKED VERSIONS ****************
[versions]
Cheetah = 2.2.1
ZopeSkel = 3.0b3
i18ndude = 3.2.2
templer.buildout = 1.0b1
templer.core = 1.0b4
templer.localcommands = 1.0b2
templer.plone = 1.0b1
templer.plone.localcommands = 1.0b1
templer.zope = 1.0b2
zopeskel.dexterity = 1.4

*************** /PICKED VERSIONS ***************
Notice that the Plone buildout installed ZopeSkel 3.0b3 for us. It is installed in the bin directory. We now have access to both versions of ZopeSkel; 2.21.2 in our virtual_env, and 3.0b3 in our Plone installation.:
[michaelc@Cullerton hello_world]$ ll bin/
total 136
-rwxr-xr-x  1 michaelc  staff    331 Aug 25 21:31 buildout
-rwxr-xr-x  1 michaelc  staff    375 Aug 25 21:35 develop
-rwxr-xr-x  1 michaelc  staff   1495 Aug 25 21:36 i18ndude
-rwxr-xr-x  1 michaelc  staff  15806 Aug 25 21:36 instance
-rwxr-xr-x  1 michaelc  staff    999 Aug 25 21:36 paster
-rwxr-xr-x  1 michaelc  staff  15818 Aug 25 21:36 test
-rwxr-xr-x  1 michaelc  staff  16064 Aug 25 21:36 zopepy
-rwxr-xr-x  1 michaelc  staff   1015 Aug 25 21:36 zopeskel
Also notice the script named instance. Use this script to start, stop and restart Plone.:
./bin/instance start
./bin/instance stop
./bin/instance restart
You can also start Plone in foreground mode. This prints log messages to your terminal which is nice during development.:
./bin/instance fg
You can always look at the event log directly. It should be located at var/log/instance.log. You can watch it using the tail command.:
tail -f var/log/instance.log
You can access the Plone site in your browser at:
http://localhost:8080/
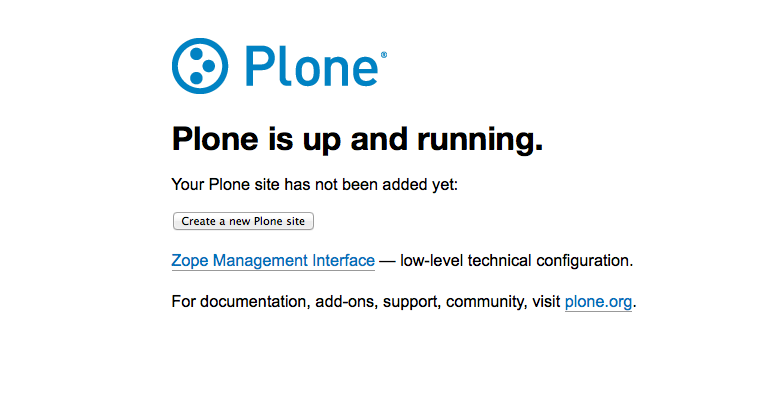
The first time you access the site, you will need to click on the Create a new Plone site button to perform some initialization.
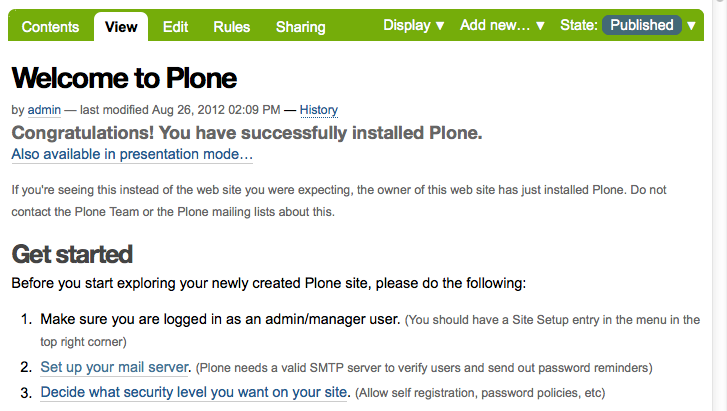
You'll be presented with a form titled Create a Plone site. Keep the defaults for now, and click on the Create Plone Site button at the bottom. After a few moments, you should see the Home page of your site.
Quick Review
Before moving on, lets review what our directory structure lools like. Inside the python_dev directory we have buildout.python and env-27.
Inside env-27 we have the hello_world directory, our Plone installation. Called the buildout_directory, it has the buildout.cfg file, and a script in the bin directory named instance used to start and stop Plone.

Note
Now that we have our virtual_env, we won't use buildout.python again for these examples. However, you can return there later to create new virtual environments for other Python projects.:
# from the **python_dev** directory
./buildout.python/bin/virtualenv-2.7 some_other_env-27
You can also build the versions of Python that we skipped in the Build Python section above, and then use them to build new Python virtual_envs.:
# from the **python_dev** directory
./buildout.python/bin/virtualenv-3.2 some_env-32


